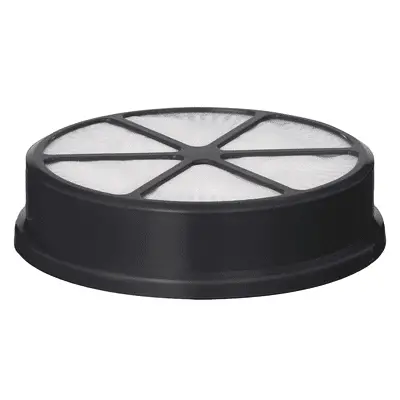
Any appliance with a HEPA filter is a wise addition to your home because it can improve the air quality. And, thus, it can raise the quality of life for the people who live there. These types of filters are especially helpful for people with pets or who suffer from allergies.
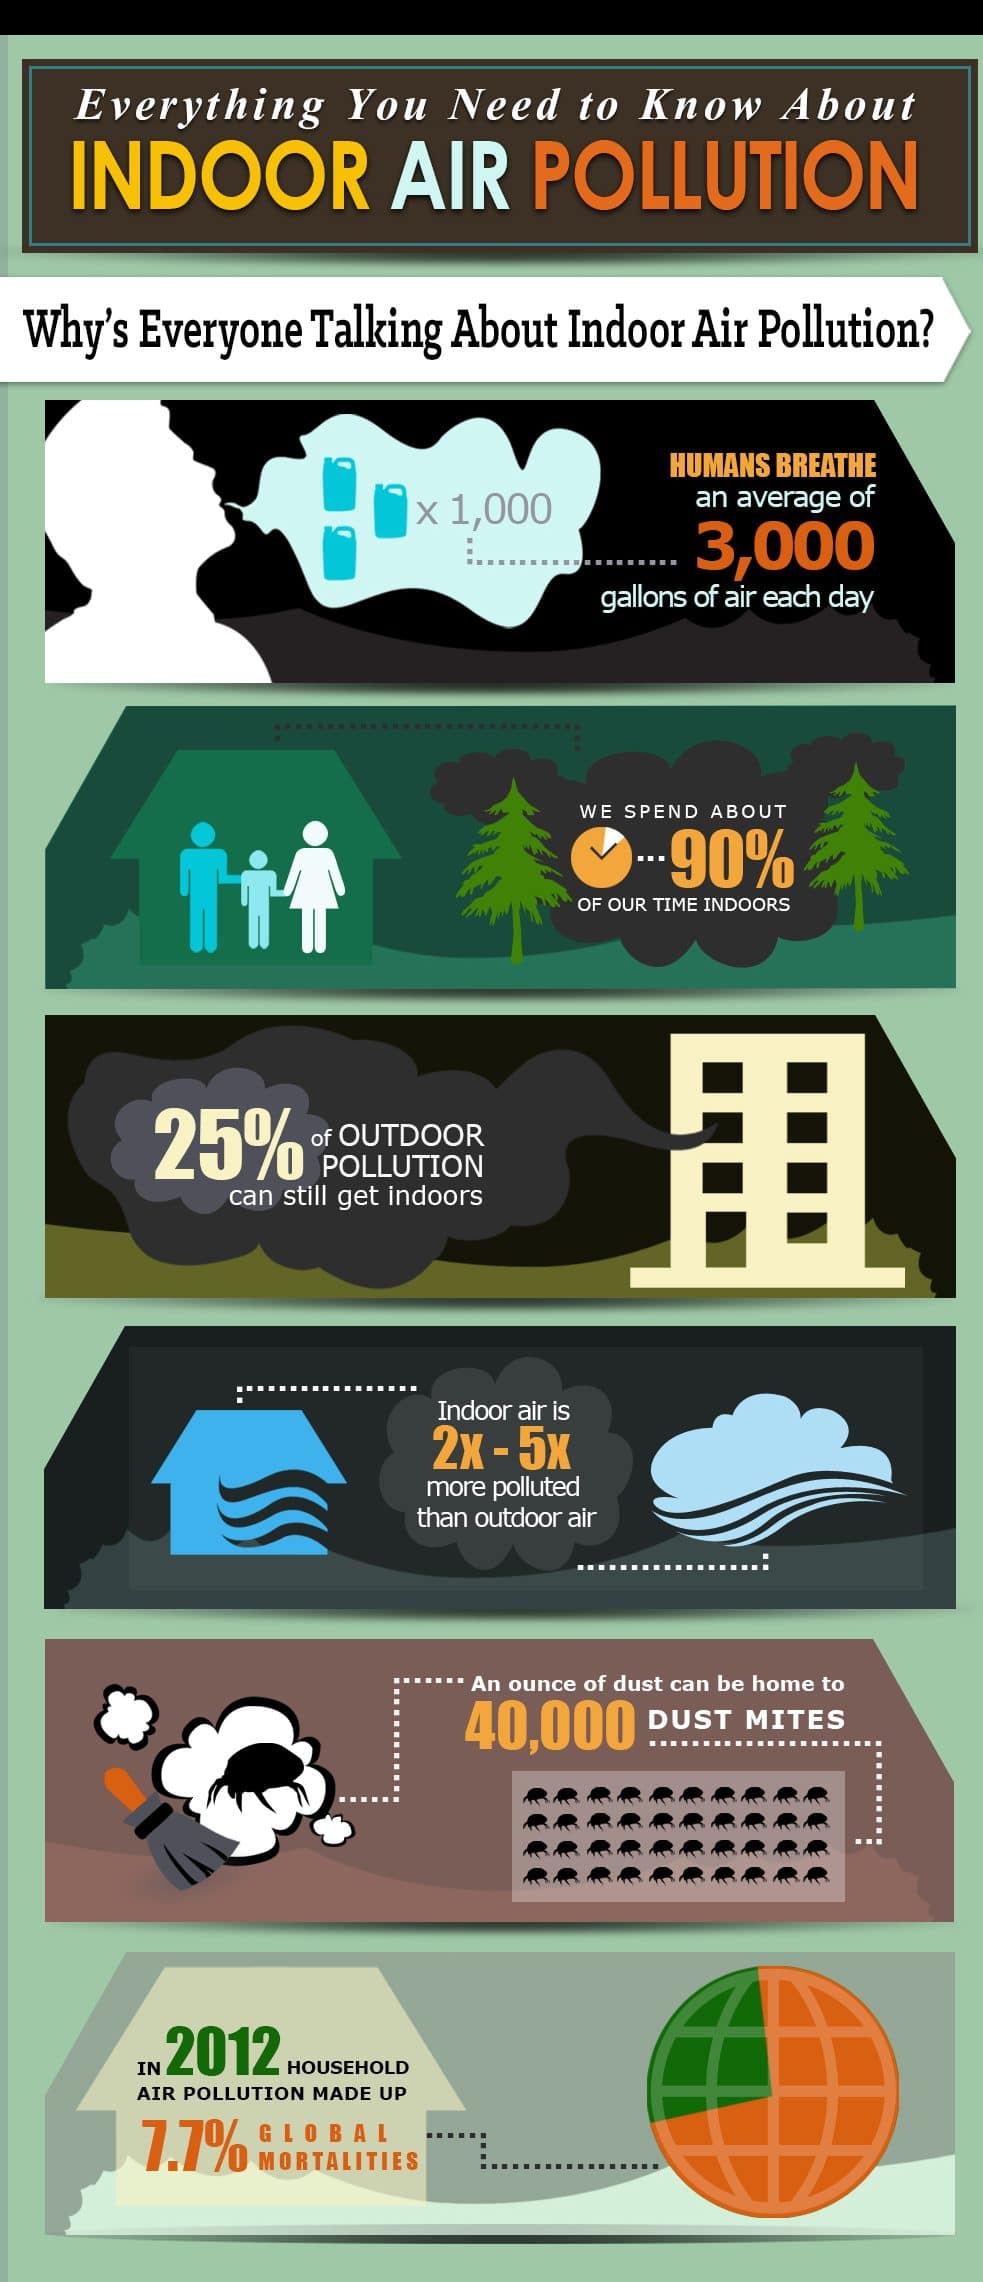
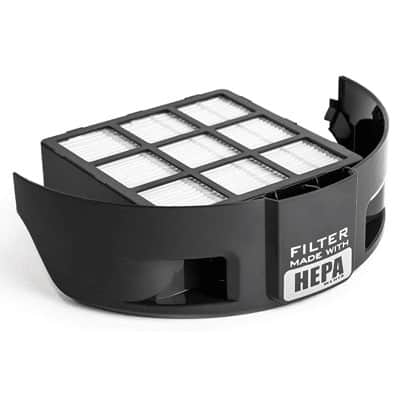
Image from filterbuy.com
Of course, like anything, HEPA filters can only work and do their job if you take proper care of them. So, what kind of care do these filters need?
Well, they mainly need you to replace them as per the manufacturer’s instructions. This is usually about once every six months. Aside from that, they may also need to be cleaned regularly. You can wash and reuse many of these air filters, but not all. Check to see if the instructions call for it or if you notice other signs that your filter needs changing.
If you’re new to these filters, don’t worry. With our tips, you’ll find it very easy to tell when they need cleaning. When the time comes, you’ll even find it’s easy to do the cleaning yourself.
How Do I Know When to Clean My HEPA Filter?
Before you clean your filter, you’ll want to think about whether you even need to clean it. Some filters need little or no cleaning, while others get dirty fast. This is especially true if your home has pets or your area has lots of allergens.
Additionally, keep in mind that it’s always a good idea to follow the manufacturer’s instructions. If a manufacturer says you should clean the filter once a week, for example, you should do that. More often than not, though, you only need to clean the filter as needed.
One word of warning, though: Some filters break down when exposed to water. So, always check to ensure your filter can handle water before you attempt to wash it.
So, what are the warning signs that let you know you have some cleaning to do?
3 Warning Signs That Your HEPA Filter Needs Cleaning
1. Your HEPA Filter Looks Dirty
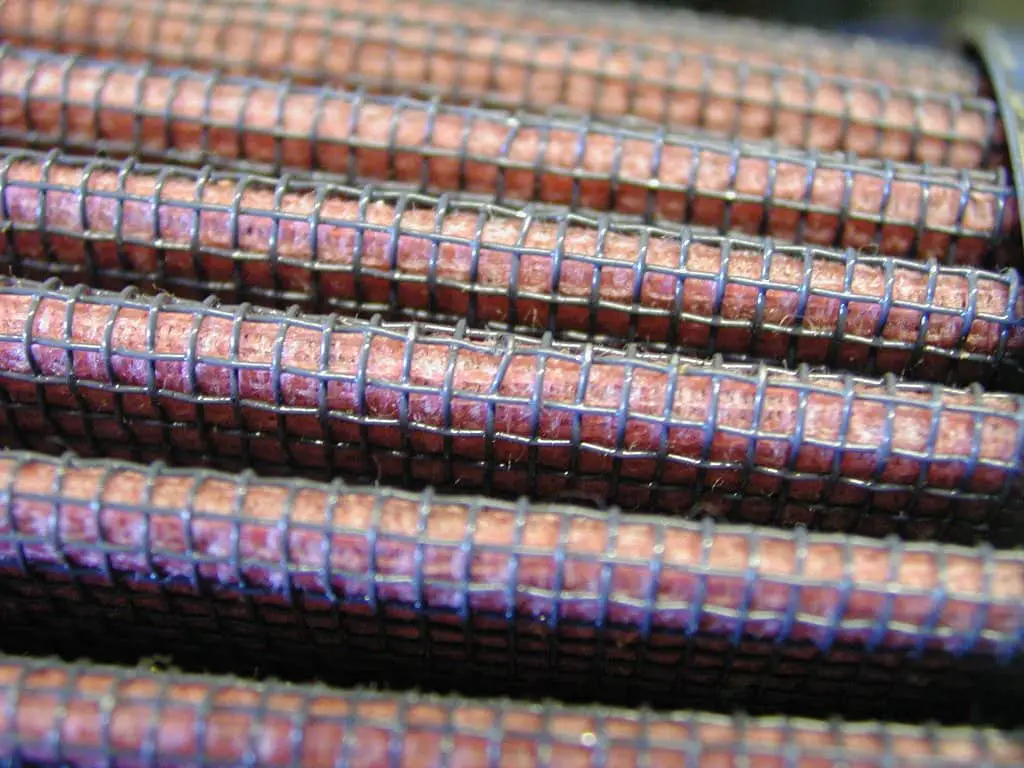
Does your filter look gray, dusty, and dirty in appearance? That’s one tell-tale clue. Because when your filter is visibly dusty, that means it’s circulating dust and dirt into your home… And into your lungs. Of course, this is the last thing you want. Thus, whenever you spot visible buildup on your filter, it’s time for a cleaning.
2. Your House Looks Dustier than Usual
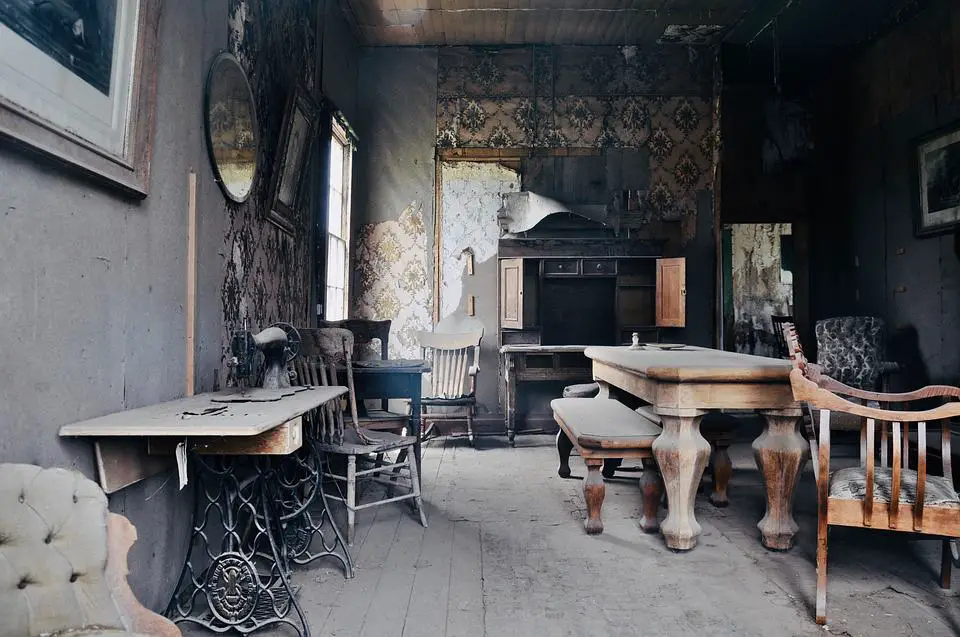
Sometimes, you can tell that your filter needs cleaning without even looking at the filter itself. When dust builds up in your filter, it builds up in your home too. If your home suddenly seems dustier than usual, that’s a dead give away. If, despite keeping up with your regular cleaning schedule, your home seems dirtier, it’s time for a filter change.
3. Your Filtered Appliances Are Sluggish
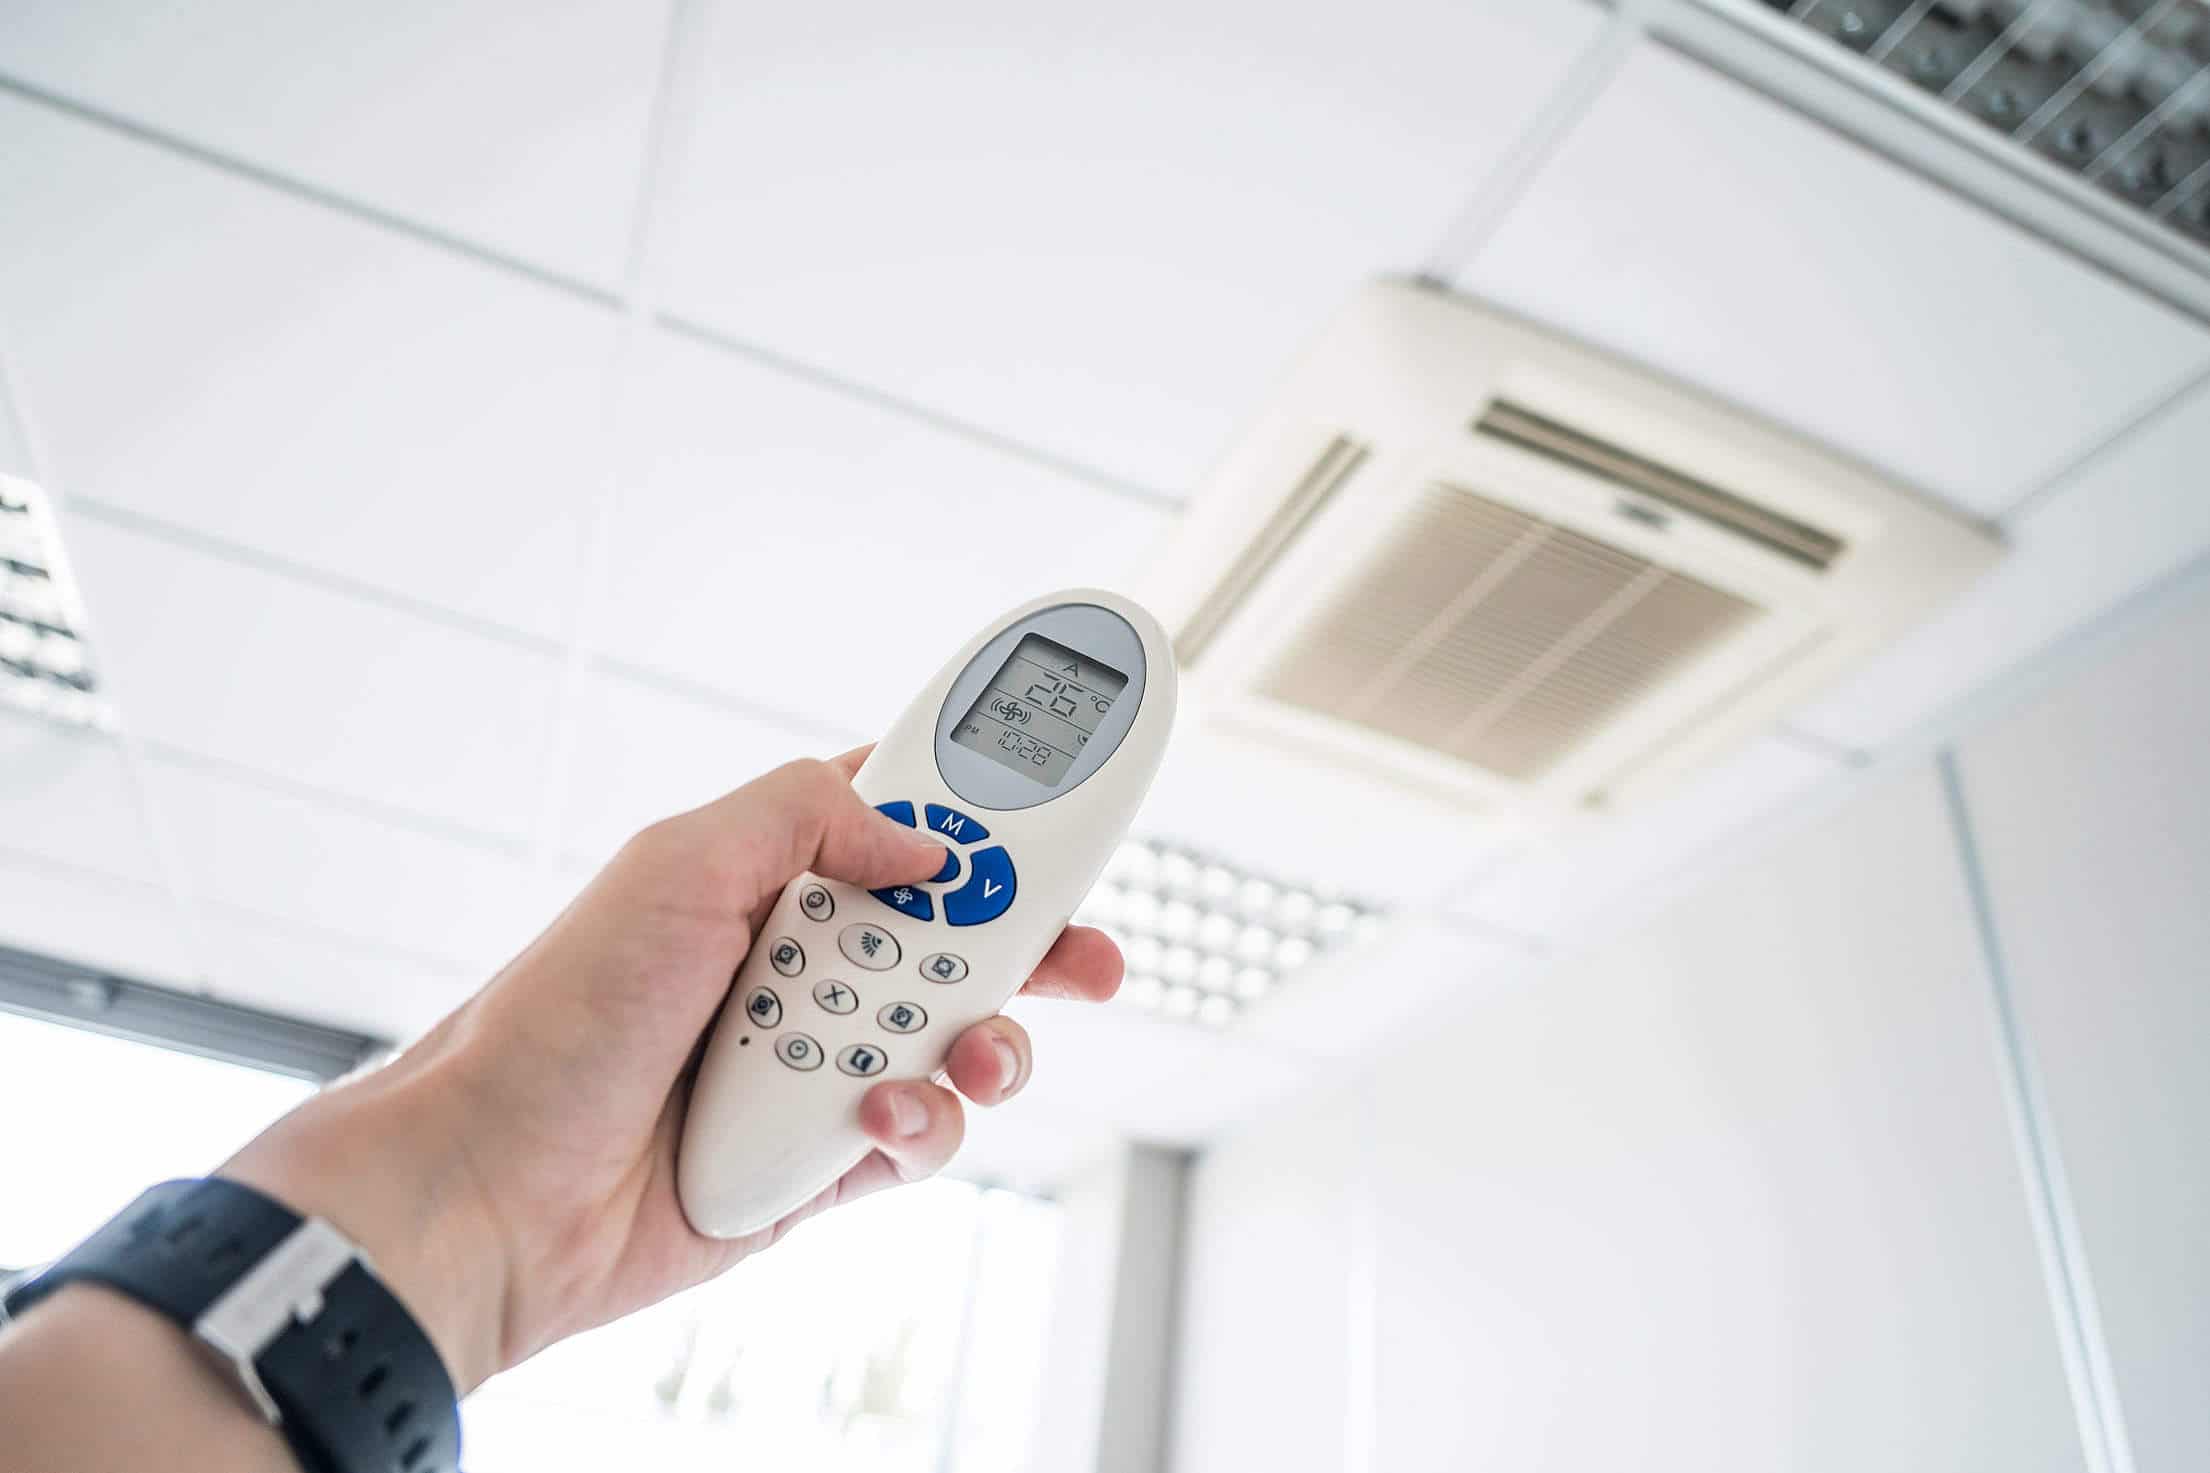
Also, be on the lookout for heating or cooling units that take much longer to come on and to fully work than usual. When a heating or cooling system stalls upon starting, that’s often because of dust and grime. If you let this go on too long, you could permanently damage your appliances. So it’s always smart to clean your filter at the first sign of trouble.
As you can see, your filter will typically let you know when it’s time for a cleaning. So be on the lookout for these signs, and don’t ignore them if they pop up.
Here’s a video that covers the pros and cons of HEPA filters. While it’s produced by AliveAir.Com, which sells air purifiers, the video has lots of useful information.
Clean Your HEPA Filter in Just 4 Easy Steps
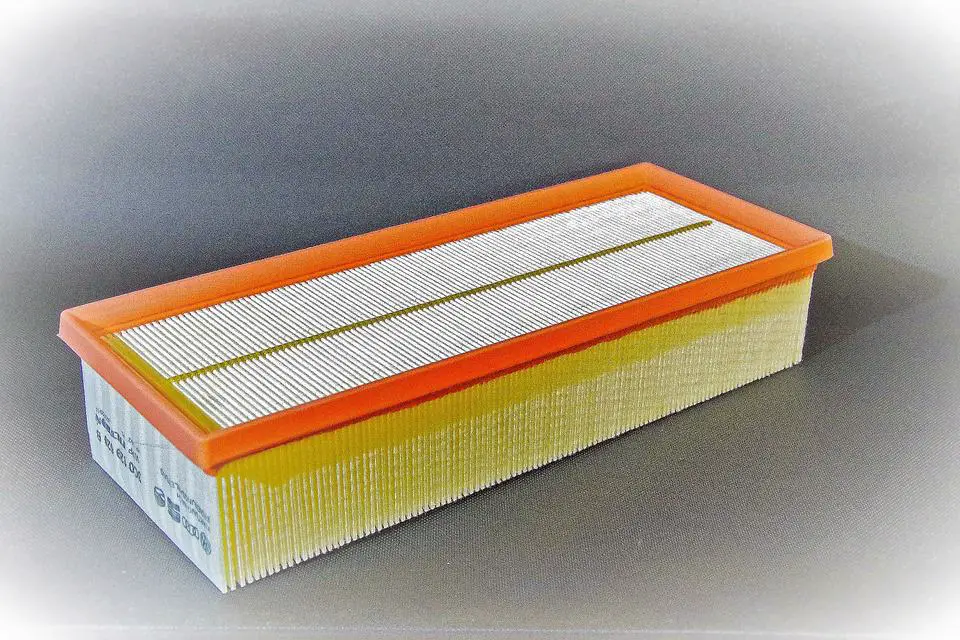
Cleaning your HEPA filter isn’t difficult. However, one tip to keep in mind is that you will want to do your cleaning outside. Not only is the job somewhat messy and best done with a hose, but doing so inside will usually cause a lot of dust to fly up in your home, affecting those with allergies and the air quality in general.
So, your best bet is always to clean your filter outdoors somewhere where you have access to a hose or at least to running water.
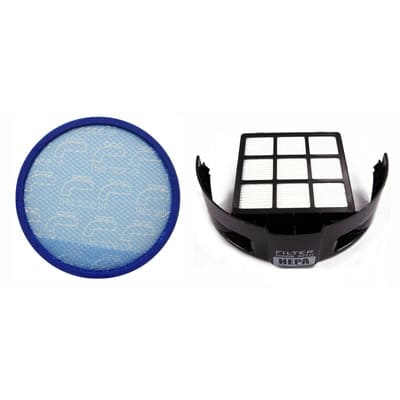
- 1Take your filter outdoors, preferably to a place where you have access to a garden hose.
- 2After you have removed your filter and brought it outside, begin by tapping it roughly over a trash can on each side. This should shake off a lot of the debris.
- 3Once you’re done tapping, it’s time to rinse the filter thoroughly on each side. Water temperature typically doesn’t matter much as long as you don’t go too hot, but do check the manufacturer’s instructions, Also, make sure you don’t use very high-pressure water as this could damage the filter.
- 4Once you’ve rinsed the filter to the point that the water runs clear, it’s time to set the filter out to dry. Don’t install it again until it’s completely dry.
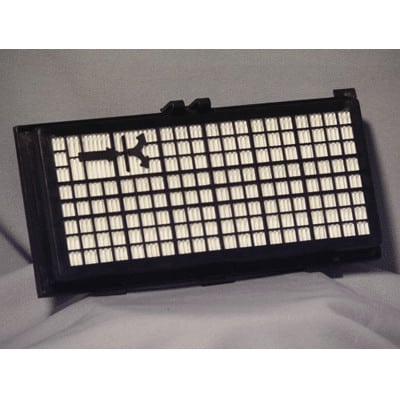
Once you do, you should notice a marked increase in your indoor air quality!
Here’s a video with details on how to clean a HEPA filter for a smaller vacuum cleaner.
So, there you have it; now you know how to clean a filter, which begs the question, is it time for your filters to be cleaned? Go check!

With a degree in engineering, Kathryn Hansen loves to write about how things work. Having her own dilemmas on how to pick the best vacuum cleaner for her large family (with a handful of furry four-legged members as well), Kathryn decided to help others in the same situation. After all, vacuum cleaners are critical to a healthy lifestyle and people have a hard time choosing the best one for their needs.
